Do you know what a flight simulator is? Of course you do. Who doesn’t? Okay, let me introduce you to this little piece of software—a DSLR simulator. I think that whoever invented this must have also invented stretchy jeans because this is a piece of pure genius.
From different polls and research that I’ve looked at over the years, it seems that the majority of DSLR (Digital Single Lens Reflex) owners shoot in Automatic or Program mode. To me, that is like choosing to eat a microwave dinner when you could have had chicken fried steak, mashed potatoes, country gravy and Texas toast. Crazy! You’ve made the financial investment for your camera, now make the educational investment. Even if you’ve mastered focus, composing, framing, perspective, posing, and storytelling but you haven’t mastered expsoure, your photos are not the best they can be. Learning to have full control over your images will allow you to take much better photographs. Pass the gravy, please.
Distance
Use this slider to replicate how close you are to your subject.
Focal Length
This slider replicates zooming in and out with your lens. A wide, zoomed setting creates the greatest depth of field (DOF) where more things are in focus. Zooming in creates a shallower depth of field. Typically, just the subject will be in focus.
Light Meter
The camera’s light meter will help you to get the proper exposure. This is a great starting point in most lighting situations. Ideally, you will want the indicator lined up with the arrow right in the middle of the meter (between -2 and +2). Be aware, there are exceptions to this.
Mode
I’m pretty sure that every digital camera has an Automatic mode, but there is not one included here. You already know how to use that one. The exposure modes of a DSLR let you control one setting while the camera decides how to adjust the others. In Shutter Priority mode, you set the shutter speed while the camera sets the aperture/f-stop. In Aperture Priority mode, you set the aperture/f-stop while the camera sets the shutter speed. In Manual mode, you get to decide all the controls. This is the part where you get to eat the chicken fried steak. Yum!
Lighting
Evaluating your light source is always the first step in setting up the camera for a proper exposure. Lighting is the single, biggest determining factor of how your camera needs to be set. With only a few exceptions, you can never have too much light. Use this slider to experiment with different indoor and outdoor lighting conditions.
Shutter Speed
The way I explain shutter speed is the amount of time you want to capture—how long your shutter will be open to record information. Being that I ran track for Coach Johnson back in the day (the best track coach ever!), I have an excellent understanding of time. I can mentally break down a second into 8,000 parts if I need to. For example, you may only need a shutter speed of 1/100th of a second to photograph your grandma sitting in a recliner. You can probably get away with a shutter speed of 1/400th to photograph your two-year-old on a tricycle. However, photographing a daytime softball game, you can really stop time with a shutter speed of 1/4000th. Faster shutter speeds allow you to “stop time”, but require lots of light. While slower shutter speeds allow you to shoot with less light, they allow blur to happen.
Aperture
Once we determine how long our shutter will be open, we need to figure out how wide we want the lens to open. The aperture, or or f-stop, refers to how wide the lens will open. The wider the lens opens, the more light passes through to be recorded in your image. It’s very confusing at first, but smaller numbers (f 1.4) mean that the lens is open wider. Larger numbers (f 22) mean that the lens is barely open. The smaller aperture (higher f number) means that more things will be in focus in your image, but you’ll need more light. The bigger aperture (lower f number) means that less of your image will be in focus but you won’t need as much light. This is how you control focus, bokeh, depth of field, magic, etc.
ISO
ISO stands for International Standards Organization, which refers to the group that set the standards for film speed. You can relax. You don’t really need to know anything about ISO except that it determines how sensitive your picture will be to the available light source. Higher ISO settings allow you to shoot at faster shutter speeds in lower light situations. However, shooting at higher ISOs allow “grain” and “noise” to be present in your images. The higher the ISO, the more noise you will have. Lower ISO settings generate the cleanest images, but require more light. I always use the lowest ISO I can get away with so that I have the cleanest images. However, that sometimes means shooting at 4000 ISO at a nighttime football game.
Ready? Go for it!
I’d like to thank the people over at CameraSim.com for this nifty little tool and for also helping with the invention of stretchy pants! But for now, I need to head on out to the gym to work off some of this chicken fried steak.
Be happy, be positive, be healthy and don’t forget to be photographed!
_______________________________________________________________________________
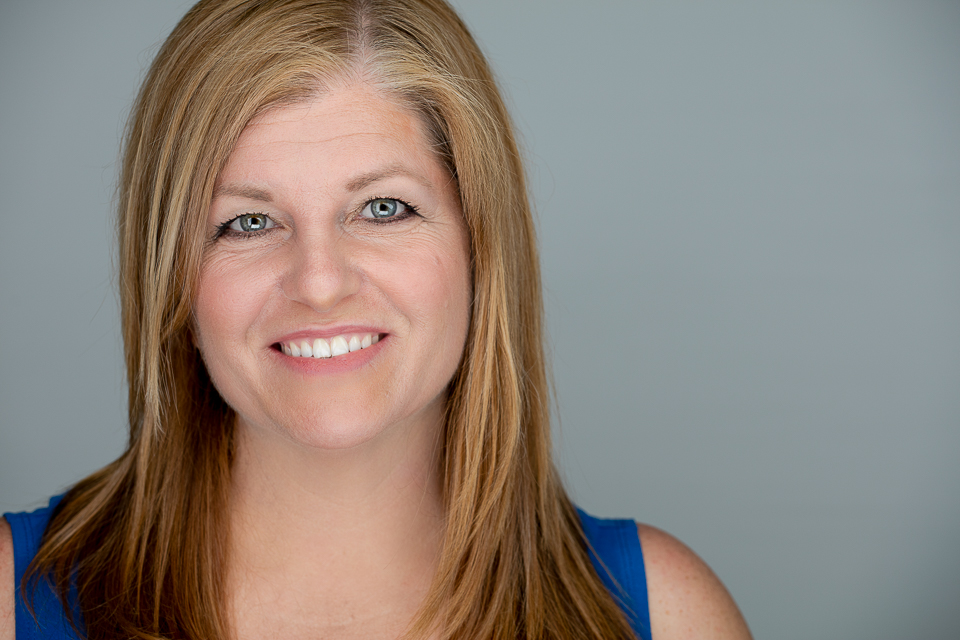
 I started Ata-Girl Photography Co. in 2010 and I am one of the premier San Antonio wedding photographers who is available for local and destination weddings. In addition to wedding photography, I also specialize in high school seniors and family portraits in San Antonio and the surrounding areas. I am a professional photographer who enjoys documenting the important milestones and captivating moments in people’s lives. I firmly believe that the unique set of circumstances I have faced in life has prepared me to take a personal and genuine interest in my photography clients. When I’m not photographing a wedding, family or high school senior, I enjoy watching my daughter play softball, hiking, cycling and listening to Elvis!